
Our big weeping willow is about to pop out in leaf – in a day or two we'll have the first deciduous green. Yay!
Debbie and I have had a small hanger for kitchen towels for something like 20 years now. As originally purchased, it was three plaster cats sitting with their backs to you, nicely painted, with a simple steel hook assembly below it (you can see these two parts in the third and fourth photos below). The hooks were screwed directly into the bottoms of the cats, and the backside of the cats had a hanger on it, like a picture hanger. This caused us problems on three separate occasions when we accidentally knocked the whole thing off the wall. When it struck the cabinet below, the cats would break (once in two places), and twice the hooks detached because the threads stripped out of the plaster.
Well, we did it again yesterday, so I decided to fix it once and for all. I cut a piece of scrap redwood 2x12 to the right size, then milled most of it down to 3/4" thick (first photo below), sanded, and painted with water-based acrylic. Then I sanded the back side of the plaster cats perfectly flat (getting ride of its black paint in the process) and glued them to the milled part of the wood. The second photo shows the clamp-up I did for that – six clamps for such a little thing! But I wanted to be gentle with the plaster so I didn't crack it with the clamps, and yet I needed even pressure. I was wishing I had a few bags of lead shot; that would have been easier, but this worked ok. The third photo shows the completed hanger, ready to be mounted in the kitchen.
This is where the “Oopsie!” happened. I assumed there was enough horizontal clearance for the board I cut to fit on the side of our kitchen cabinet. Nope. It was about a half inch too wide! Doh! Turns out there wasn't much clearance on the original hanger, and I'd added a little over two inches to the width. Dang it! Back to the shop, where I whacked off about 3/4" from both sides, re-sanded, and put a coat of acrylic on it. I'll put a second coat on in a couple of hours, and then I'll try to hang it again.


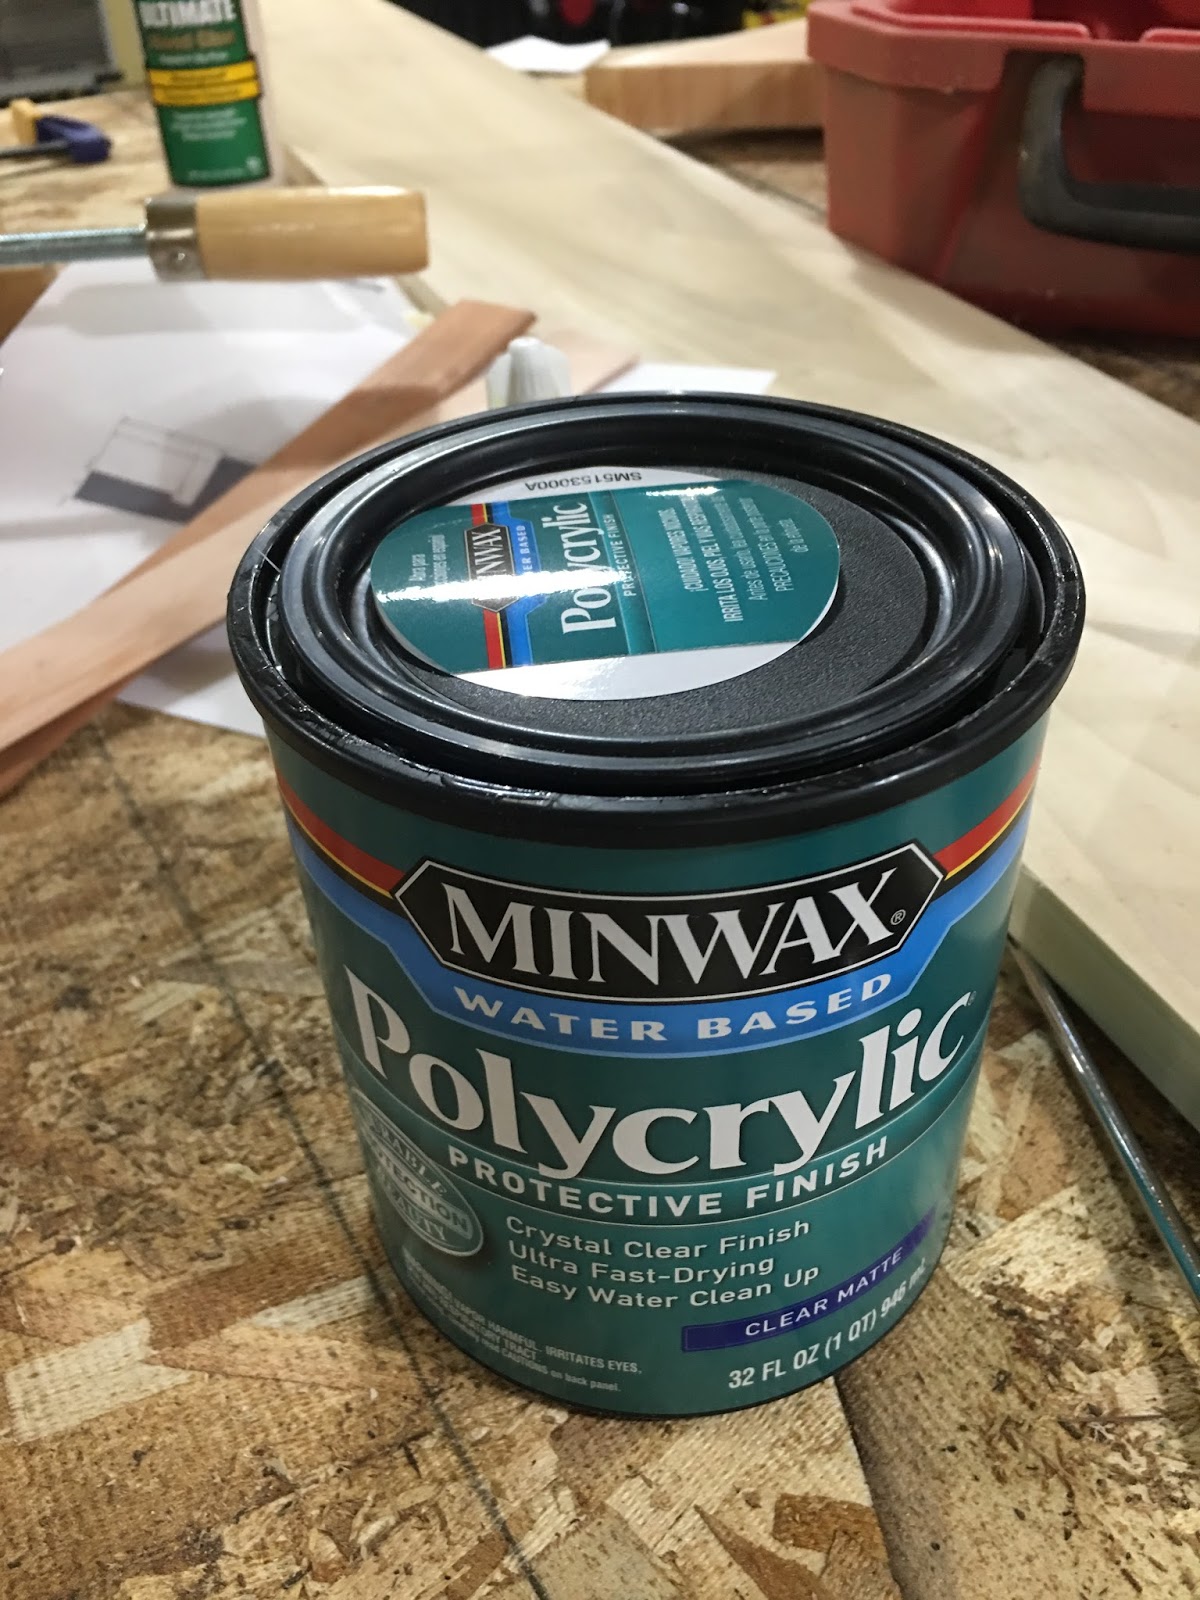
This little project is the first time I've used an acrylic finish in probably 20 years. I bought it for my stairs project, on the recommendation of a very knowledgeable employee at our local paint store. This stuff has come a long, long way. First of all, it's water-based, so cleanup is a cinch: soap and water. Second, it's a true matte finish – there's none of that “plastic look” that I so disliked with the acrylic and polyurethane finishes I'd used in the past. Third, the drying time is just a few minutes to handle, and only two hours for re-coating. Fourth, there's no obnoxious odor at all – its smell is actually pleasant. Finally, the can it came in is a modern marvel. It looks like a standard pressure-fit metal lid, but it's not. It's made of plastic, and it opens easily and cleanly, and snaps right back into place with finger pressure. Awesome!
No comments:
Post a Comment